Living in a coastal area often means dealing with high humidity levels that can easily lead to indoor mold growth. When you find mold somewhere in your home, it is usually a sign that moisture has been lingering for far too long. Because these fungal colonies can affect the air you breathe, simply scrubbing the surface with soap and water is rarely enough for a permanent fix.
Opting for professional mold remediation in Charleston, SC, is the most reliable way to handle the problem and address the moisture issues that started it. This restoration work is a methodical, step-by-step process designed to return your property to a clean and stable state.
Step 1: Pinpointing the Cause of the Growth
Before any cleanup can begin, the restoration team must understand the unique conditions of your property. Rather than just looking at surface growth, this initial stage involves a deep look at how moisture is moving through the structure of your home. By utilizing specialized tools like moisture meters, mold specialists can find damp spots that are invisible to the naked eye, such as moisture trapped behind drywall or under floorboards.
This discovery process is the foundation of a successful mold removal and moisture control project. It ensures that the cleanup plan accounts for every affected area and identifies the specific plumbing leak or humidity issue that allowed the mold to take hold. Establishing this baseline allows the remediation team to fix the water problem first, which is the only way to ensure the home stays dry and protected long after the work is finished.
Step 2: Isolating the Workspace from the Rest of the House
Keeping the rest of your property clean and safe is a top priority throughout the entire project. To achieve this, the remediation team establishes a clear boundary between the work area and your living space. This is done by sealing off doorways and vents with specialized plastic sheeting, effectively turning the impacted room into a self-contained unit. Rather than allowing the workspace to remain open to the hallways and adjacent rooms, this setup ensures that every bit of dust or debris created during the cleanup stays exactly where it belongs.
This isolation of the affected area is what allows the heavy work to happen without affecting your quality of life in other rooms. By focusing on this physical separation first, the mold specialists can focus on the infestation with the confidence that the rest of your house is shielded from any drifting particles. It turns a potentially messy project into a controlled and tidy process that respects the boundaries of your clean living areas.
Step 3: Cleaning the Air Within the Containment Zone
After sealing off the affected area, the remediation team manages how air moves within the space to keep your home protected. Using high-powered fans, they create a vacuum effect that pulls air toward specialized filters and vents it outside. This inward airflow ensures that even if a seal is briefly moved, no microscopic particles can drift out into your clean hallways or living areas.
This system keeps the workspace atmosphere under constant filtration throughout the project. By continuously scrubbing the air and directing it away from the rest of the house, the mold specialists can clean the surfaces without compromising the overall air quality of your property.
Step 4: Addressing Mold with Specialized Tools
The actual cleanup involves a meticulous process of eradicating the infestation from the structure of your house. Instead of a simple wipe-down, technicians use HEPA-filtered vacuums to trap and pull tiny mold particles from walls, ceilings, and floors. For more porous or deeply affected building materials, the remediation team uses EPA-approved equipment to ensure the colonies are fully addressed and removed from every part of the home.
Maintaining a clean and controlled workspace is a major focus during this part of the work. Industrial air scrubbers remain active to catch any dust that is stirred up, while the remediation team focuses on scrubbing every corner where growth was found. This detailed extraction ensures that the physical mold is gone and the surfaces are left in a stable, refreshed condition.
Step 5: Post-Treatment Testing and Review
The final part of the project is focused on making sure the area is truly clean before the containment barriers are removed. Once the cleaning is finished and the surfaces are dry, a final walkthrough is conducted. To be completely certain that the home has reached a healthy standard, third-party testing is recommended. These independent lab results confirm that the mold levels have been reduced to a safe and natural range.
Getting this final clearance gives you the peace of mind that the project was a success. It provides the proof you need to know that your living environment is back to normal and that the work was completed correctly.
What the Mold Remediation Process Means for Your Home
The ultimate goal of a professional mold remediation strategy is to transform your living space into a place where moisture no longer poses a threat to your building materials. By successfully managing the humidity and removing the mold particles that developed as a result, the entire property is returned to its original, clean condition. This process provides a fresh start for your house, ensuring that the air stays clean and the surfaces remain solid for years to come.
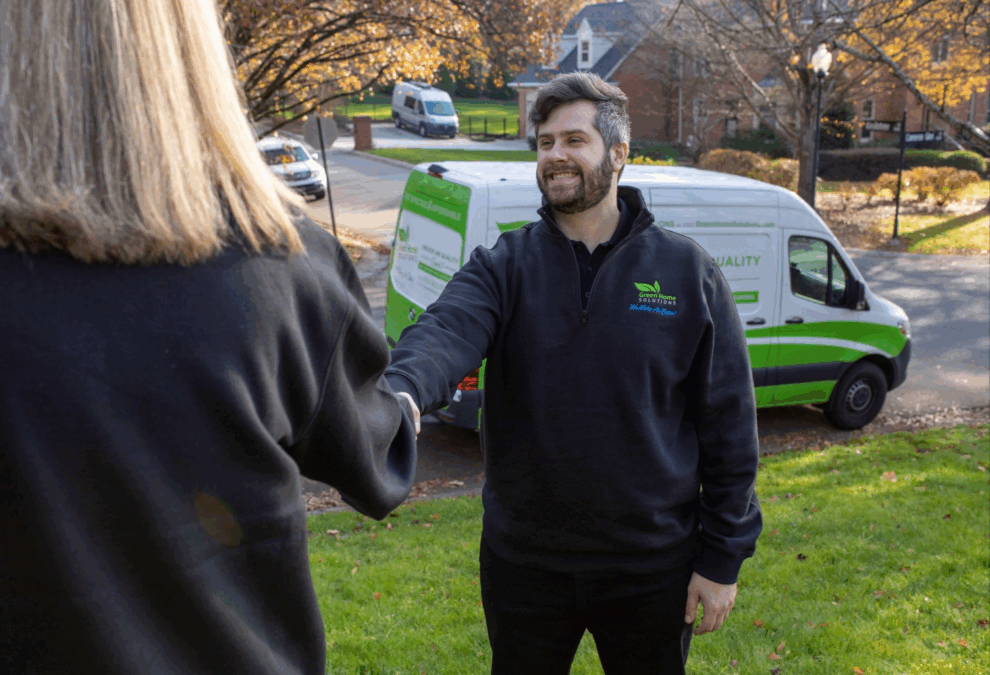
Green Home Solutions provides the specialized support and effective methods necessary to navigate mold remediation in Charleston, SC, from start to finish. Our focus is on helping you reclaim a living environment that is free from the stress of hidden mold growth and persistent moisture. Rather than wondering about the state of your property, you can take a decisive step toward a cleaner home by contacting Green Home Solutions to set up a professional mold inspection.